# How to add custom fonts to your React Native project with Expo and React Navigation!
Photo by [Amador Loureiro](https://unsplash.com/@amadorloureiroblanco?utm_source=medium&utm_medium=referral) on [Unsplash](https://unsplash.com?utm_source=medium&utm_medium=referral)
* * *
## **To achieve our goal, we will take the following steps :**
* Generate a new test project with Expo-CLI.
* Install and import react-navigation, react-navigation-stack modules.
* Create 2 screens and display some dummy text.
* Download a Font and add it to the project.
* Import and use loadAsync helper from Expo
* Wire up the newly added font and use it in the project.
* * *
1. **Generate a new Expo project :**
Head over to a directory of your choice and run :
with npx: `npx expo-cli init test-custom-font`
with expo-cli: `expo init test-custom-font`
2\. **Install the dependencies**
run the following to install react-navigation dependencies :
`npm i react-navigation react-navigation-stack react-navigation-gesture-handler``
While the installation is running, let’s open the project and add some boilerplate.
3\. **Create the screens and display some text**
To keep this article short, i will skip the how-to-create-and-import-export-your-components section, and head over to the adding the Font.
At this point, your files should look like this :
## App.js
**HomeScreen.js**
## DetailScreen.js
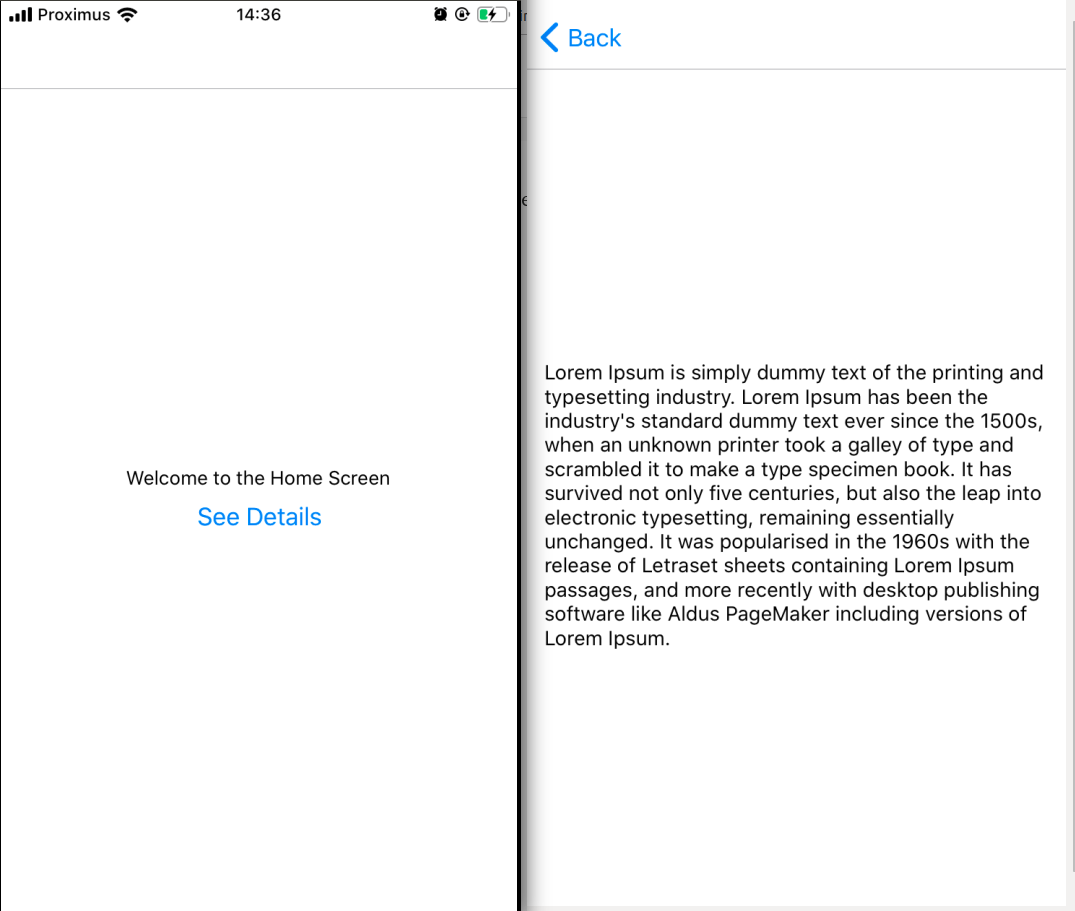
**Let’s start the development server and see what we have for now,**

3\. **Download a Font and add it to the project.**
* Inside the assets folder, create a fonts folder.
* Head over to [google fonts](https://fonts.google.com/) .
* Download and unzip a font of your choice in any location on your machine.
* Copy/paste the .ttf file inside the fonts folder.
* In this demo we will use “montserrat”.
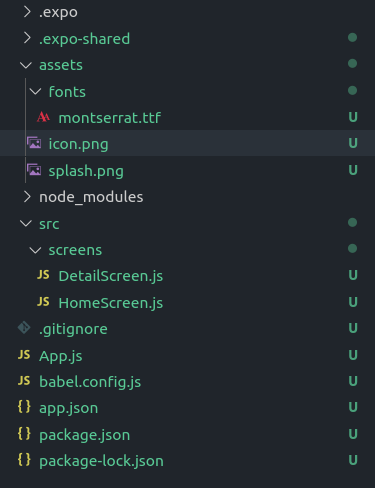
By now, our project structure should look like this :

4\. **Import Expo Font module and wire up the custom font**
Now, here is the fun part, according to Expo documentation, loading a custom font should be done using `componentDidMount()` life cycle method in App.js.
The current implementation of our App.js does not support a life cycle method, as the root component (App.js line 11)is created and exported immediately.
Likely for us, the only thing Expo expects from our App.js is a valid React component.
So let’s build and export a custom App component with our loaded font.
Your App.js should look like this now,
5\. **Use the newly added font :**
Now, all we have to do is add the font family to our style object, in both HomeScreen.js and DetailScreen.js :
`textStyle:{ fontFamily:'Montserrat'}``
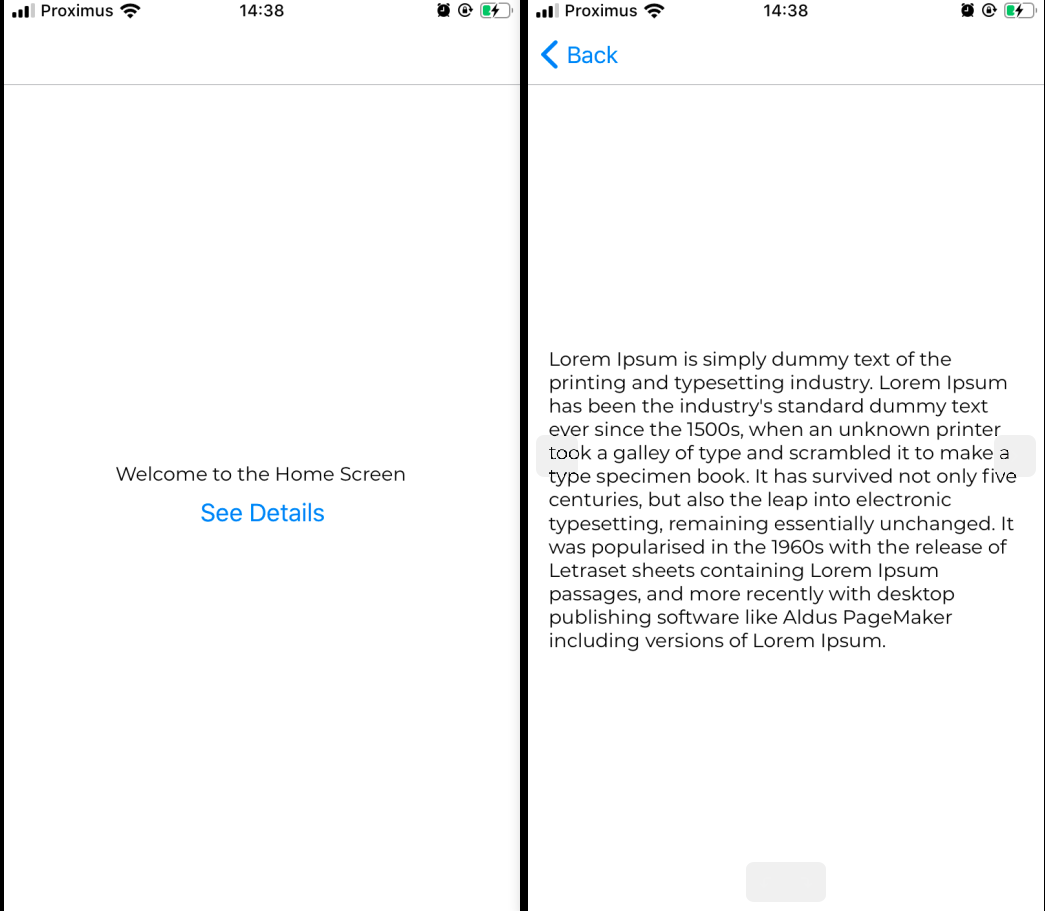
**Result :**

You like this type of content or have any suggestions?
Find me on [twitter](https://twitter.com/iyo_bemoore)
Thank you!
%%[mailchimp]
 3\. **Download a Font and add it to the project.**
* Inside the assets folder, create a fonts folder.
* Head over to [google fonts](https://fonts.google.com/) .
* Download and unzip a font of your choice in any location on your machine.
* Copy/paste the .ttf file inside the fonts folder.
* In this demo we will use “montserrat”.
By now, our project structure should look like this :

3\. **Download a Font and add it to the project.**
* Inside the assets folder, create a fonts folder.
* Head over to [google fonts](https://fonts.google.com/) .
* Download and unzip a font of your choice in any location on your machine.
* Copy/paste the .ttf file inside the fonts folder.
* In this demo we will use “montserrat”.
By now, our project structure should look like this :

 4\. **Import Expo Font module and wire up the custom font**
Now, here is the fun part, according to Expo documentation, loading a custom font should be done using `componentDidMount()` life cycle method in App.js.
The current implementation of our App.js does not support a life cycle method, as the root component (App.js line 11)is created and exported immediately.
Likely for us, the only thing Expo expects from our App.js is a valid React component.
So let’s build and export a custom App component with our loaded font.
Your App.js should look like this now,
5\. **Use the newly added font :**
Now, all we have to do is add the font family to our style object, in both HomeScreen.js and DetailScreen.js :
`textStyle:{ fontFamily:'Montserrat'}``
**Result :**

4\. **Import Expo Font module and wire up the custom font**
Now, here is the fun part, according to Expo documentation, loading a custom font should be done using `componentDidMount()` life cycle method in App.js.
The current implementation of our App.js does not support a life cycle method, as the root component (App.js line 11)is created and exported immediately.
Likely for us, the only thing Expo expects from our App.js is a valid React component.
So let’s build and export a custom App component with our loaded font.
Your App.js should look like this now,
5\. **Use the newly added font :**
Now, all we have to do is add the font family to our style object, in both HomeScreen.js and DetailScreen.js :
`textStyle:{ fontFamily:'Montserrat'}``
**Result :**

 You like this type of content or have any suggestions?
Find me on [twitter](https://twitter.com/iyo_bemoore)
Thank you!
%%[mailchimp]
You like this type of content or have any suggestions?
Find me on [twitter](https://twitter.com/iyo_bemoore)
Thank you!
%%[mailchimp]